How to Clean a Hairbrush (The Right Way)
Key takeaways: If you’re wondering how to clean a hairbrush, the quickest method is: remove trapped hair, wash the brush in warm water with a little shampoo, scrub the base gently, rinse, and let it dry bristle-side down.
For most people, a deep clean every 1–2 weeks keeps buildup, oil, and residue from going back onto freshly washed hair.
If you’ve ever looked at your brush and noticed that gray fuzz around the base, you’re not alone. It’s usually a mix of shed hair, scalp oils, product residue, lint, and dust. The good news? Cleaning your brush is simple, takes about 10 minutes of active work, and can make your hair feel fresher between wash days.
A clean brush doesn’t just look better. It can also help with scalp comfort, reduce greasy-looking roots, and improve how your styling tools perform. Let’s break it down step by step.
Why brush hygiene matters for scalp and hair
Every time you brush, you’re moving oils and residue around. That’s normal. But once your brush gets overloaded, you start redepositing old buildup back onto clean hair. Experts commonly recommend cleaning brushes regularly for this reason.
From a hygiene perspective, routine cleaning with soap and water is usually enough for household items. Public health guidance also notes that cleaning (not heavy disinfection) is sufficient in most everyday home situations.
What you need before you start
Keep this basic kit handy:
- A comb tail, chopstick, or pointed tool (to lift trapped hair)
- Mild shampoo or gentle dish soap
- A bowl or sink with warm water
- An old soft toothbrush
- Clean towel
- Optional: cotton swabs for tight corners
That’s it—no fancy products required.
Step-by-step: how to clean a hairbrush at home
Step 1: Remove loose hair first
Use your fingers to pull out what you can. For stubborn strands, slide a tail comb under the hair mat and lift upward in sections.
Tip: Do this every day or every few days. Daily mini-cleanups prevent that thick, hard-to-remove buildup layer.
Step 2: Prep a soapy soak
Fill a bowl with warm (not boiling) water and add a few drops of shampoo.
- Plastic/synthetic brushes: usually safe for a short soak
- Wooden or cushioned brushes: avoid full soaking; spot-clean instead to protect glue and wood finish
Step 3: Clean the base and bristles
Dip the toothbrush in soapy water and gently scrub:
- Around bristle roots
- Along the cushion/base
- Edges where lint collects
Take your time here—this is where most residue hides.
Step 4: Rinse thoroughly
Rinse with clean water until no soap remains. If soap stays in the brush, it can leave residue in your hair.
Step 5: Dry correctly
Shake out excess water, pat with a towel, and place the brush bristles-down on a dry towel to air-dry.
Avoid storing a damp brush in a drawer. Moisture + poor airflow can lead to odors and faster wear.
Cleaning method by brush type (quick comparison)
| Brush type | Best cleaning method | Avoid |
|---|---|---|
| Plastic paddle brush | Short soak + scrub + rinse | Very hot water that warps plastic |
| Vent brush | Soak briefly, scrub vents carefully | Leaving lint packed in vent holes |
| Round brush (synthetic) | Quick soak, scrub between rows | Long soaking that loosens parts |
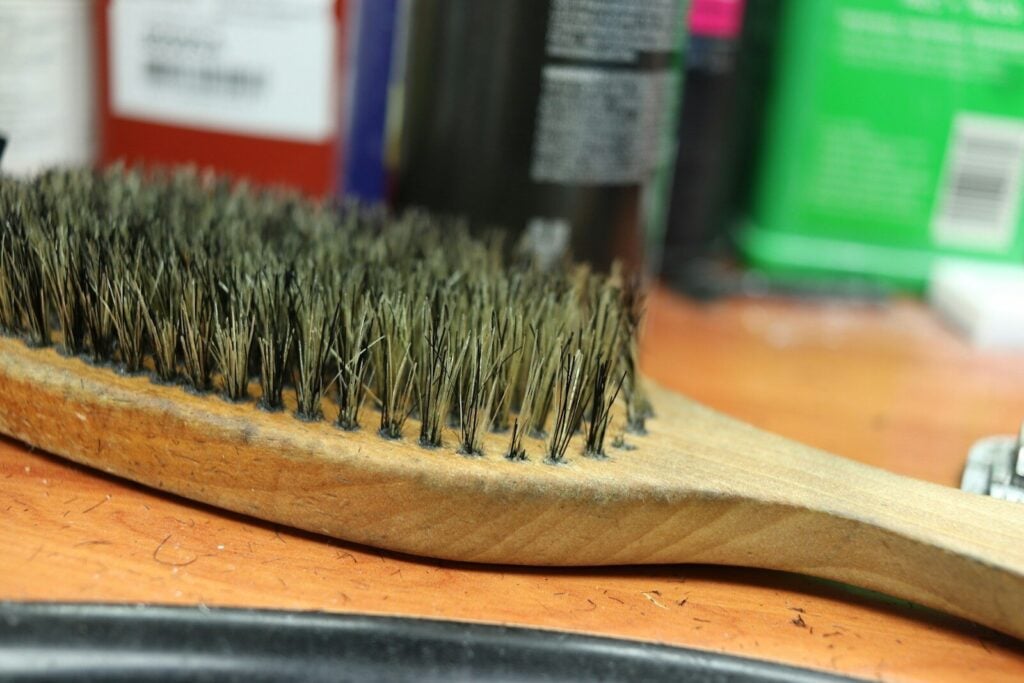
| Boar bristle brush | Gentle surface clean, minimal water | Full soak |
| Wooden handle brush | Spot-clean with damp cloth + light scrub | Submerging in water |
| Comb | Warm soapy wash + rinse | Harsh chemicals unnecessarily |
How often should you do a deep clean?
A practical schedule that works for most people:
- Remove hair: every 1–3 days
- Deep clean: every 1–2 weeks
- Heavy product users (dry shampoo, hairspray, oils): weekly
- Low-product, occasional use: every 2–4 weeks
This lines up with expert advice that frequent users and oily/product-heavy routines should clean more often.
Practical examples
Example 1: Oily roots + dry shampoo routine
If your roots get oily quickly and you use dry shampoo often, your brush can load up fast.
Best routine: remove trapped hair every night, deep clean once a week.
Example 2: Curly hair with leave-in products
Creams and gels can cling to bristles and create film.
Best routine: deep clean weekly and use a toothbrush to scrub the base well.
Example 3: Minimal product, thick straight hair
If you rarely style and don’t use much product, buildup is slower.
Best routine: deep clean every 2–3 weeks, with quick hair removal in between.
Common mistakes (and how to avoid them)
1) Soaking wooden brushes
This can crack wood, loosen glue, and damage cushion pads.
Fix: spot-clean with a damp cloth and tiny amount of soap.
2) Skipping the base area
People clean bristle tips but ignore the roots.
Fix: always scrub where bristles meet the base.
3) Drying upright or enclosed
Water can collect in the cushion and shorten brush life.
Fix: dry bristle-side down on a towel with airflow.
4) Waiting until it looks “really dirty”
At that point, cleaning takes longer and may be less effective.
Fix: follow a regular schedule.
5) Using harsh disinfectants by default
For normal home use, soap and water cleaning is usually sufficient; disinfection is situational. (CDC)
Pros and cons of cleaning your brush regularly
Pros
- Fresher-feeling hair after brushing
- Less residue transfer to clean strands
- Better scalp comfort
- Improved styling performance
- Longer brush lifespan
Cons
- Requires routine habit (a few minutes weekly)
- Some brush types need gentler handling
- Deep cleaning can feel tedious if buildup is heavy
Signs it’s time to replace your brush
Even with great cleaning habits, brushes don’t last forever. Consider replacing when:
- Bristles are bent, broken, or missing
- Cushion is cracked or separating
- Brush snags hair repeatedly
- Persistent odor remains after cleaning
- Base residue no longer comes off fully
A worn brush can tug and damage hair more than a clean, intact one.
Fast 5-minute maintenance routine (between deep cleans)
If you’re busy, do this:
- Pull out visible hair
- Wipe the base with a damp cloth
- Lightly scrub around bristle roots
- Quick rinse (if brush material allows)
- Air-dry bristle-side down
This tiny routine makes full wash day much easier.
FAQ
1) Can I use vinegar to clean a hairbrush?
You can, but mild shampoo and warm water are usually enough for routine care. If you use vinegar, dilute it and rinse thoroughly so residue and smell don’t remain.
2) Is it okay to share hairbrushes?
It’s better to avoid sharing when possible. If shared, clean the brush between users to reduce transfer of oils and debris.
3) Can I soak every brush type?
No. Plastic brushes are usually fine for short soaks, but wooden and natural-bristle brushes should be cleaned with minimal water.
4) How long should I soak a plastic brush?
Usually 10–15 minutes is enough. Longer soaking may loosen parts on some brushes.
5) Why does my brush collect gray lint so fast?
That gray layer is typically a mix of product residue, oils, dust, and fibers. Frequent product use and carrying brushes in bags can increase buildup.
6) Should I disinfect my brush every time?
Not typically. In everyday home settings, standard cleaning with soap and water is generally sufficient; disinfection is more situational. (CDC)
A simple routine you can stick to
If you want hair that feels cleaner and styles better, this is one of the easiest upgrades in your routine:
- Remove hair every few days
- Deep clean weekly or biweekly based on usage
- Match method to brush material
- Dry properly every time
Once you start doing this regularly, you’ll probably notice your brush works better—and your hair feels better—without changing anything else in your routine.